Connect a calendar product
Establishing a connection between On-Call Optimizer and a calendar product.
Connect a supported calendar product so On-Call Optimizer can read your availability from it. To watch the whole flow first, see the screencast in Connect a calendar.
1. Open the Calendars page
- Click your avatar at the top right of the application and choose Calendars.
- Click Add a new calendar connection at the top right of the Connected calendars page.
The Select calendar provider dialog opens.
First sign-in
2. Select your calendar product
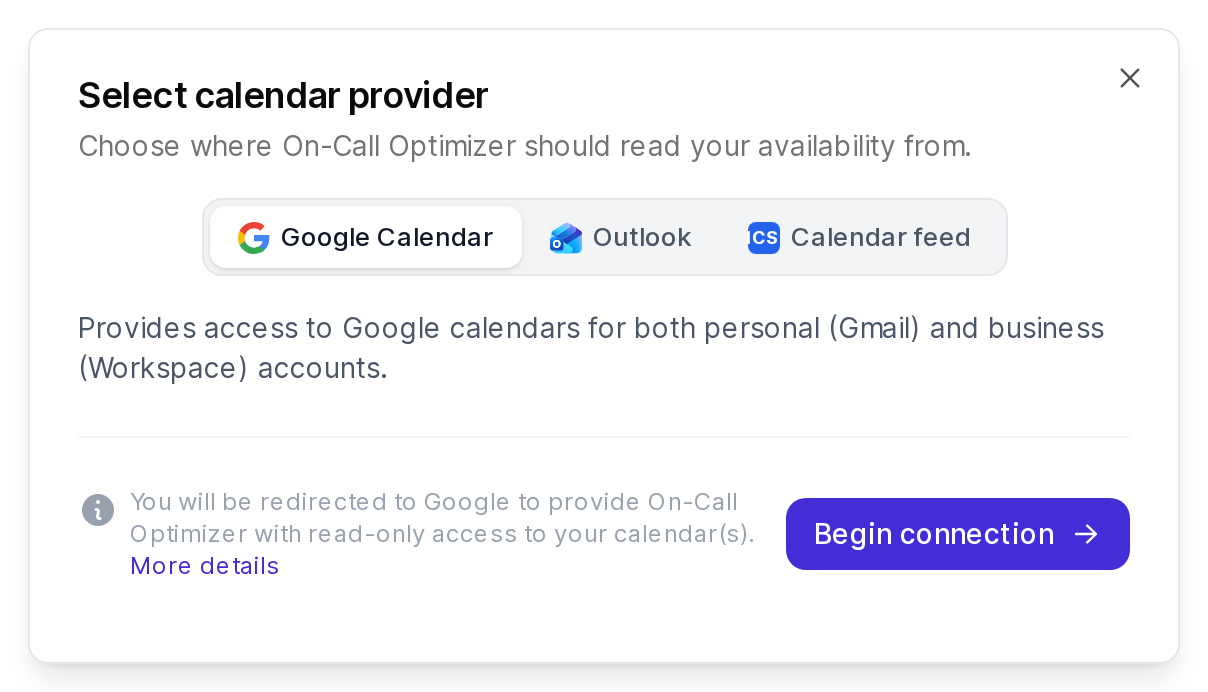
- Choose your provider at the top of the dialog: Google Calendar, Outlook or Calendar feed.
- Click Begin connection (Google or Outlook) or Add URL (calendar feed).
What happens next depends on the provider:
- Google and Outlook: you are sent to the provider’s website to sign in and grant On-Call Optimizer read-only access to your calendars. See the Google and Outlook pages for the permissions requested.
- Calendar feed: you enter a nickname and the feed URL (an ICS link). See iCalendar.
Authorization when re-connecting a calendar
3. Configure which calendars to import
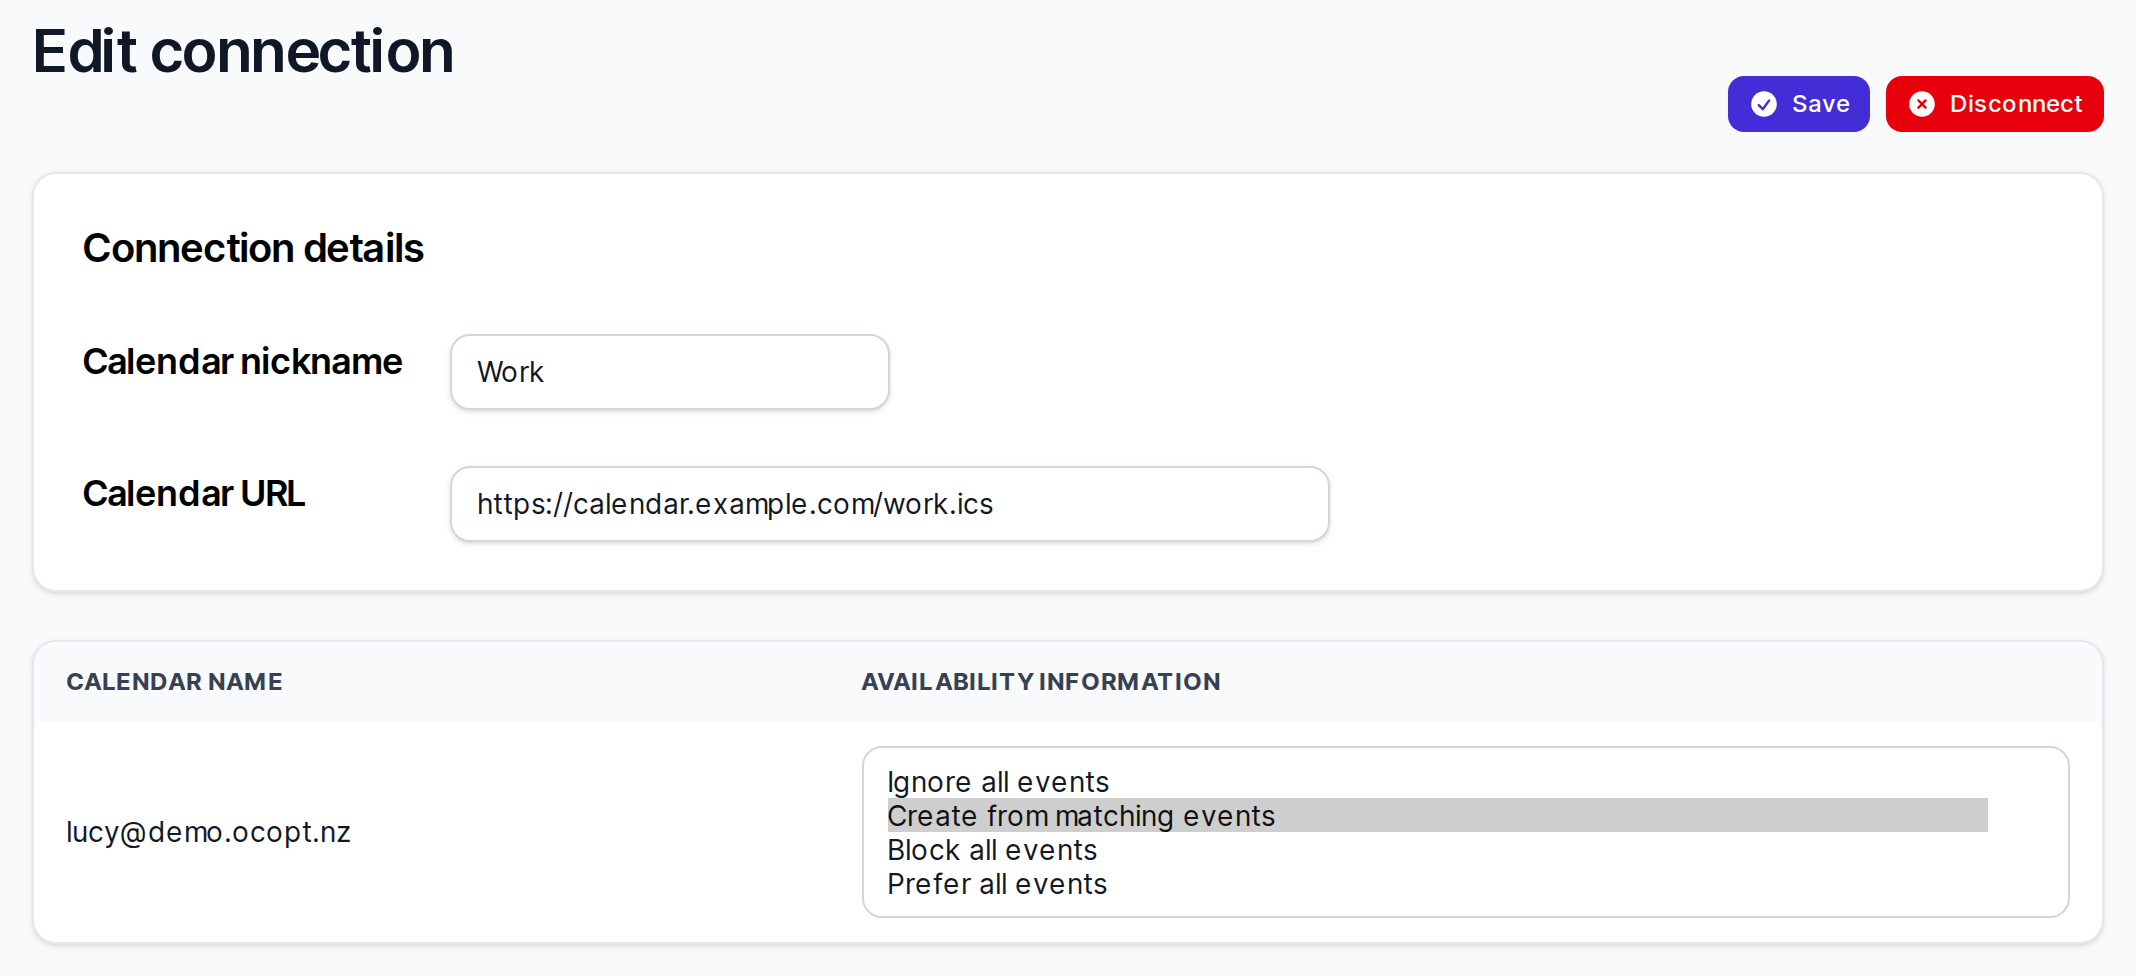
On-Call Optimizer checks that it can access the calendar and then opens the Edit connection page. While the list of calendars is fetched, the page shows Connection established with a short wait message.
When the list appears:
- For each calendar, use the select box in the Availability Information column to choose whether and how availability is imported from it. See Configuration for the options.
- Optionally, change the Calendar nickname in the Connection details card.
- Click Save at the top right of the page.
Finish
After you click Save, you return to the Connected calendars page and the import starts in the background. It can take a few minutes.
The connection card shows the status of each selected calendar and when it was last synchronized. Click Refresh now to check a calendar again straight away.
Imported availability appears on your Home calendar once the import is complete, as long as the Availability layer is shown. See Viewing your availability.
Disconnecting a calendar
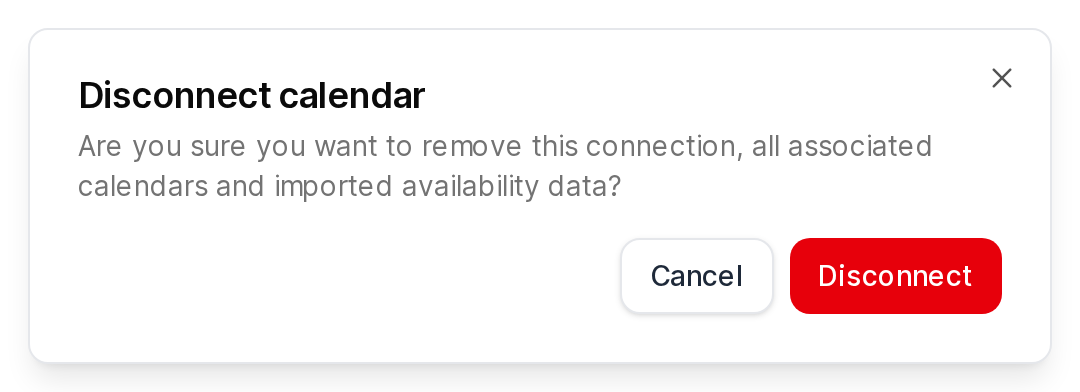
Disconnecting removes the connection, its calendars and all availability imported from them.
- Click your avatar at the top right of the application and choose Calendars.
- Click the Disconnect icon (a circled cross) at the top right of the connection card. (You can also click Disconnect at the top of the connection’s Edit connection page.)
- Click Disconnect in the Disconnect calendar dialog to confirm.
For Google and Outlook, you may also want to revoke On-Call Optimizer’s access in your provider account. See the Google and Outlook pages.