Step 1: Set-up schedule
Integration of a schedule begins with On-Call Optimizer importing key configuration details from the existing schedule.
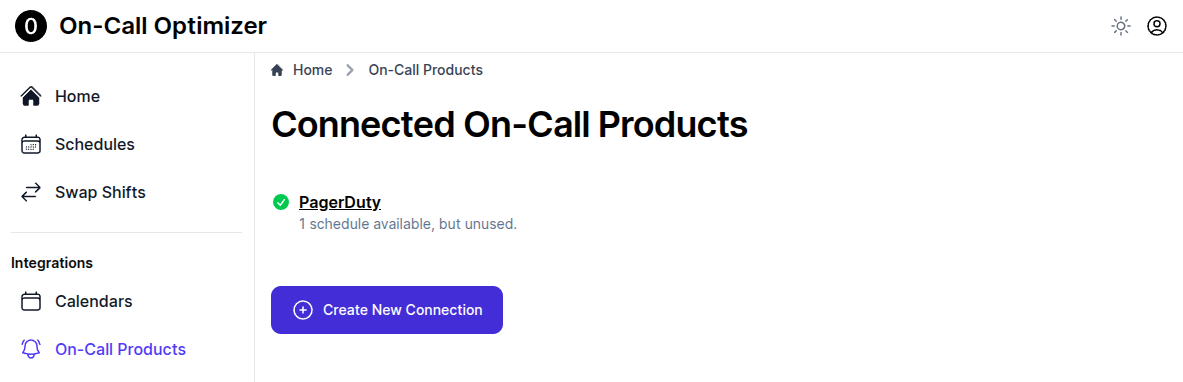
Select existing schedule
- Click ‘On-Call Products’ in the menu and select the connection to the product where your existing schedule exists from the displayed list.
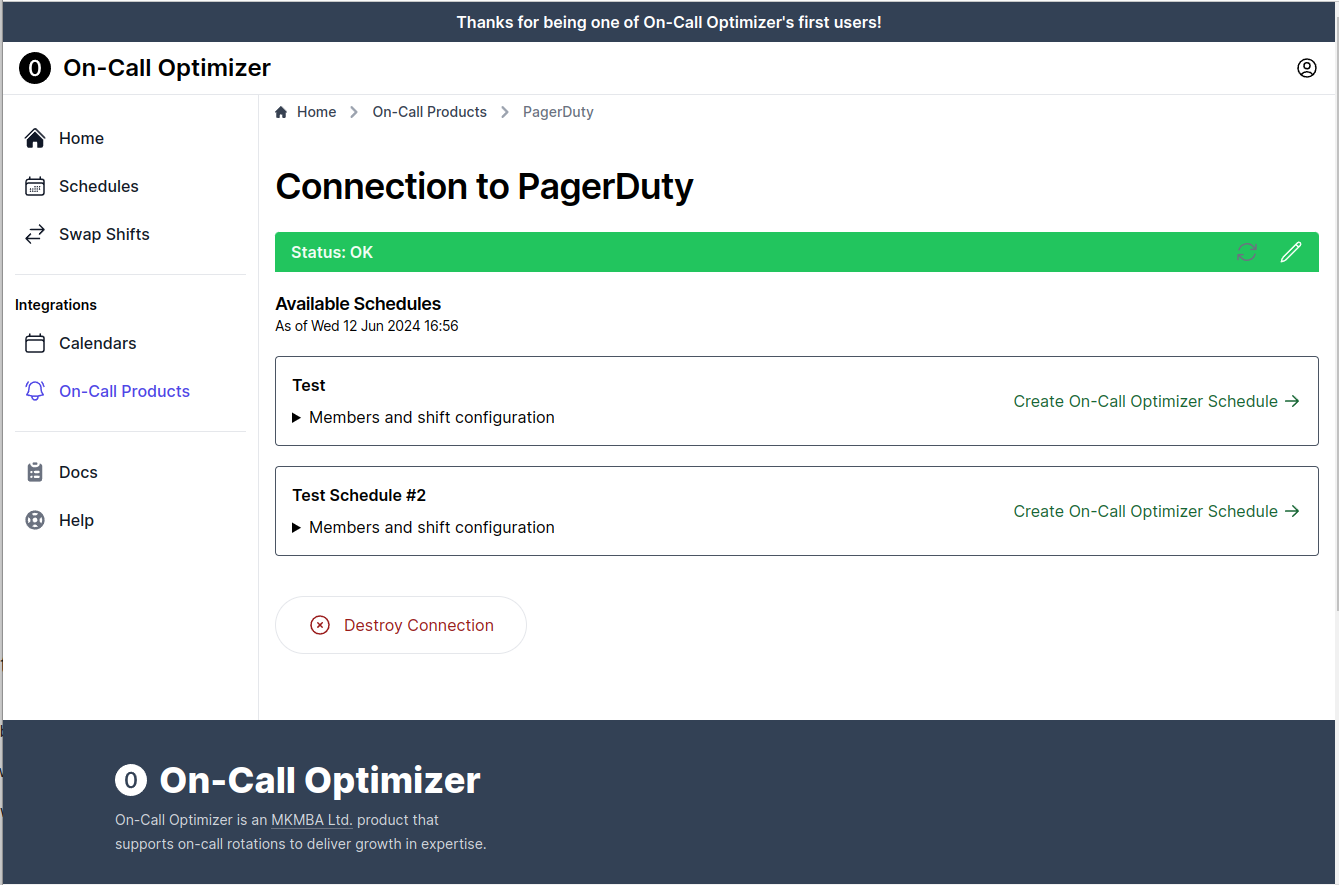
- From the list of all existing schedules, find the row corresponding to the schedule
you want to integrate with On-Call Optimizer and click
Create On-Call Optimizer Schedulein the right-most column.
Configure shift specifications
On-Call Optimizer will show the time zone and shift configuration that have been detected from the source On-Call Product.
If the listed shifts do not match your desired configuration you can alter them now (e.g. to add a secondary assignee). Refer to the schedule configuration docs for further information.
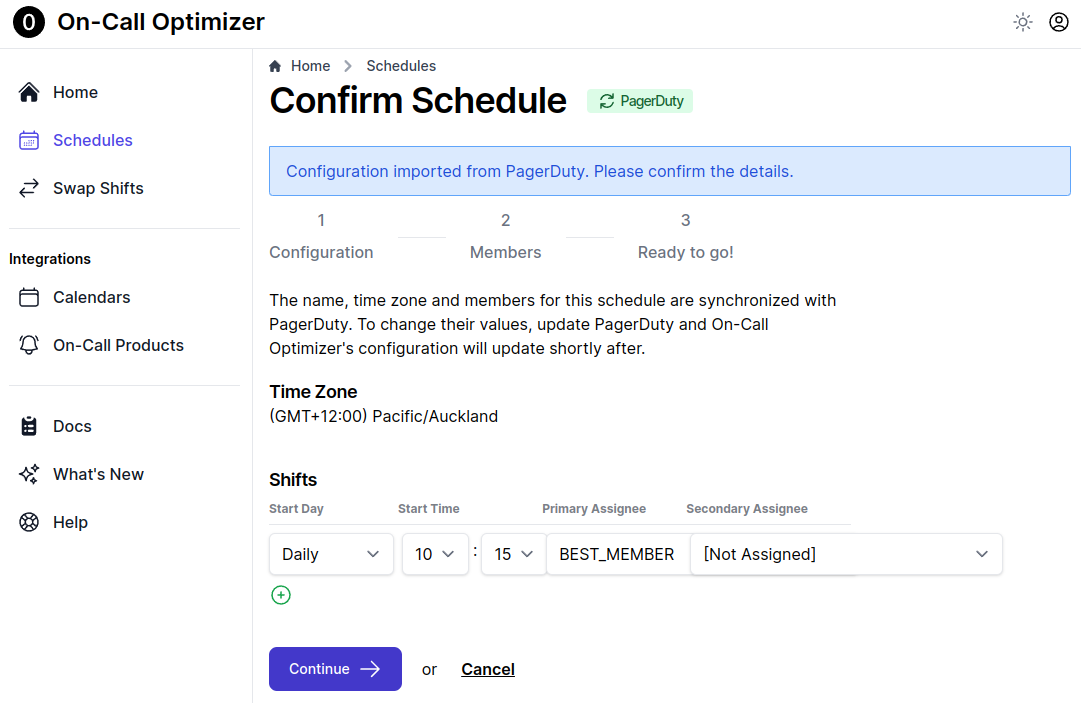
Once you are happy with the configuration shown, click Continue to proceed to Members.
Member list
- Review the list of members imported from the linked schedule. Select the appropiate role and assignability status for each member. For more information on these options, refer to the schedule members docs.
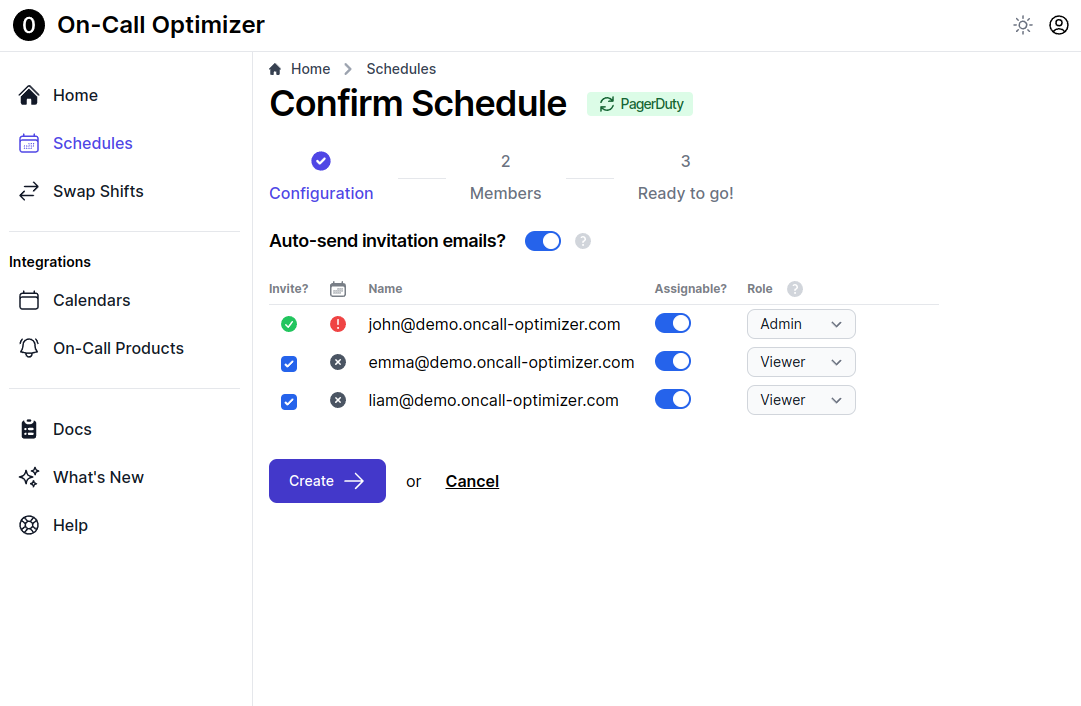
- Click Create to finish linking the schedule.
Next Steps
Your schedule is now linked. The confirmation page shows when the first assignment for the schedule will take place.
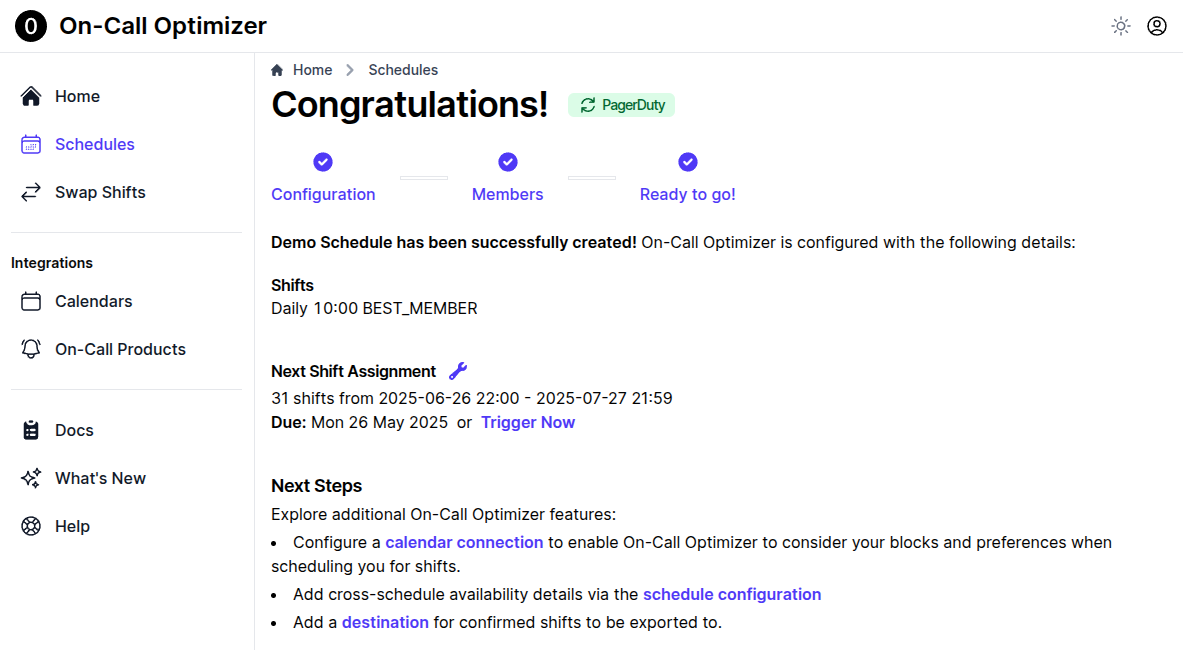
We’ll come back and look at how the first assignment will work in step 3, first, each member needs to link their calendar to On-Call Optimizer to provide their availability information.
Feedback
Was this page helpful?
Glad to hear it! Please tell us how we can improve.
Sorry to hear that. Please tell us how we can improve.