Step 3: Confirm first assignment
Now that all members have a linked calendar, it’s time to generate the first shift assignment!
Background
On-Call Optimizer’s schedule lifecycle regularly assigns new shifts so that a configured number of days (the horizon) of shifts into the future are assigned.
The first assignment for a new schedule takes place 7 days after it is created (providing time for users to be invited and link their calendars first), and uses a default horizon of 30 days. This means the first shift assigned by On-Call Optimizer will start in around 37 days time (give or take a few days depending on your shift configuration).
Existing shifts from configured destination schedules will be imported into On-Call Optimizer as history to provide continuity until that date.
Configuring lifecycle parameters
To change the horizon, click the
(wrench) icon to the right of the Next Shift Assignment heading found on the Assignments tab at any time (or on the confirmation page immediately following creation of a schedule).
After saving lifecycle parameters, the Next Shift Assignment section of the Assignments tab updates to show the date of assignment and shifts
to be assigned based on the new configuration.
Changing the first assignment
- To generate your first assignment immediately click the
Trigger Nowoption on theAssignmentstab. - To change the date or duration of the first assignment without affecting the configuration of future assignments, click the
Create New Custom Assignmentbutton on theAssignmentstab.
In both cases, you can copy/paste the URL of the resulting assignment to other team members for review or discussion before confirming it if desired.
Creating an assignment via either of these methods is low-cost and safe to do whenever you’re curious what the next set of shifts will look like given the currently available information.
The resulting assignment can easily be abandoned or regenerated as described if you do not wish to confirm it into the current schedule.
Assignment confirmation
Once an assignment has been generated (either automatically, or in response to an action from the above section) you will see the assignment review screen:
To view more details hover or click on any shift to show the corresponding shift popup.
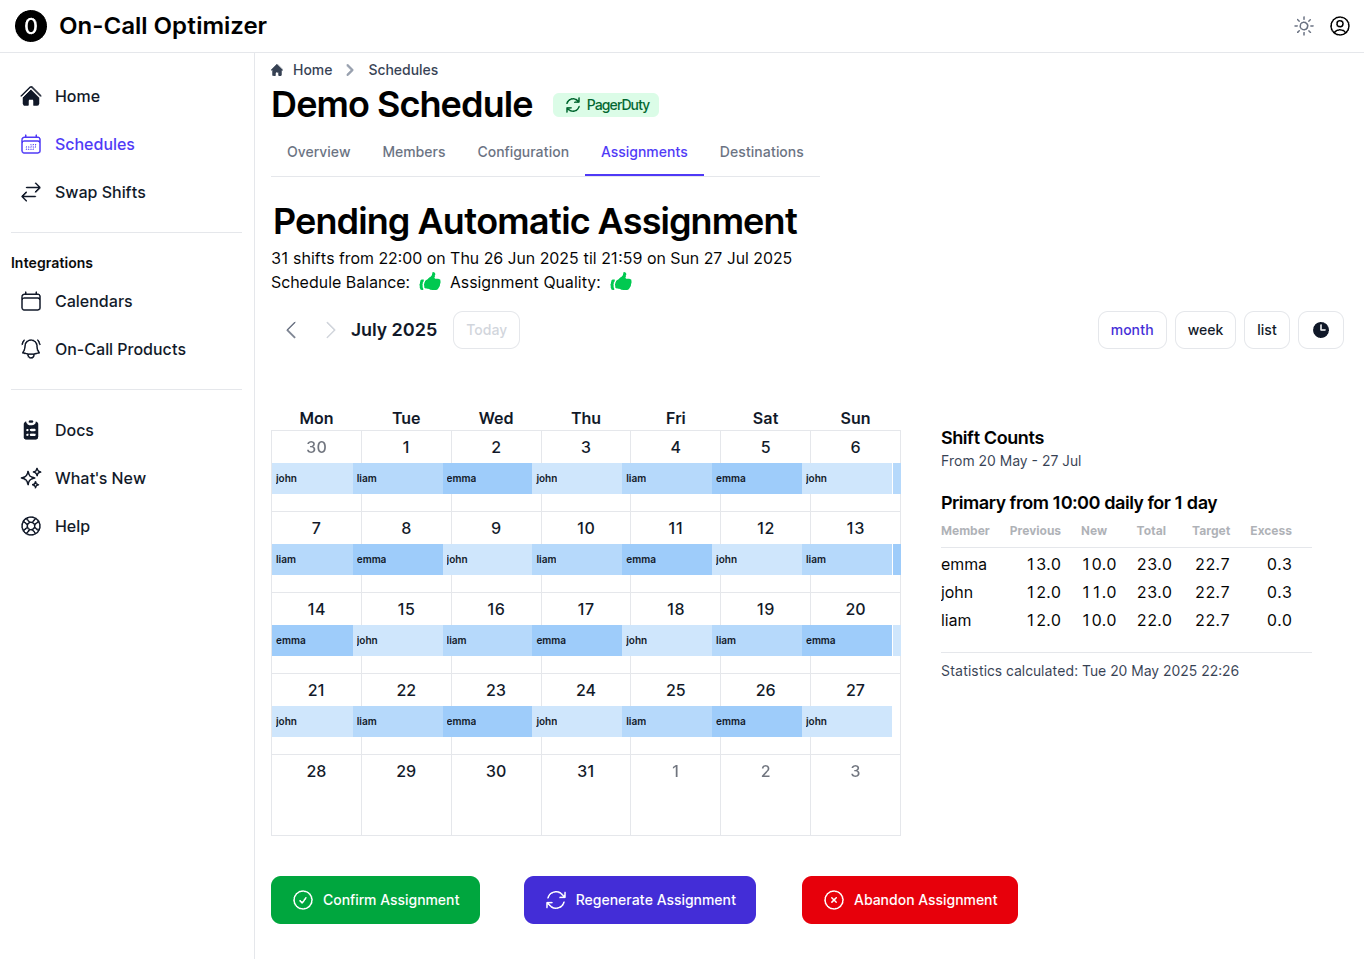
Three actions are available for each pending assignment:
- Confirm: This adds the shifts from the pending assignment into the schedule itself. When you confirm shifts into the schedule:
- Each member with new shifts assigned receives a notification.
- The shifts are queued for export to each configured destination.
- Regenerate This regenerates the assignment using the most recently fetched availability information for each member of the schedule.
- Abandon Deletes the assignment.
Exporting updated shifts
After the first assignment has been confirmed, an orange notification icon appears on the Destinations tab for the schedule to signal there are pending changes
waiting for export to one or more destinations.
Click into the Destinations tab to see a count of shifts to be added or removed from each destination. Click View Details to see the specific changes to be made.
When you’re happy with what will be exported, click Export Now to begin updating the shifts in the connected on-call product.
Next Steps
The schedule is now fully operational. The final step enables On-Call Optimizer’s automatic lifecycle operations.
Feedback
Was this page helpful?
Glad to hear it! Please tell us how we can improve.
Sorry to hear that. Please tell us how we can improve.