Accept the invitation
In this step you will accept the invitation sent by the owner of your schedule. If you do not already have an On-Call Optimizer account this step will guide you through the process of creating one.
1. Click the link in the invitation
The invitation email which you have received will contain a link as shown in the below image.
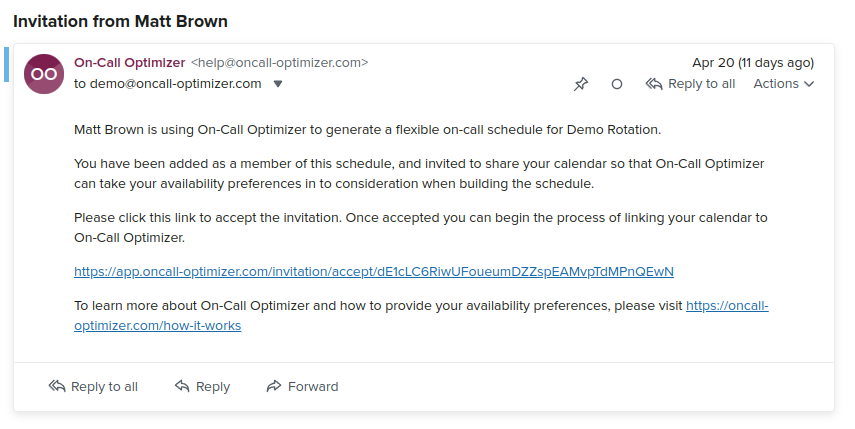
Click on the link to be taken to On-Call Optimizer.
2. Login
To accept the invitation you must have an On-Call Optimizer account. If you have not used On-Call Optimizer before, you will see a screen similar to the one show below asking you to choose an authentication provider to use for login. Your account will be automatically created on the first time that you authenticate and login with this provider.
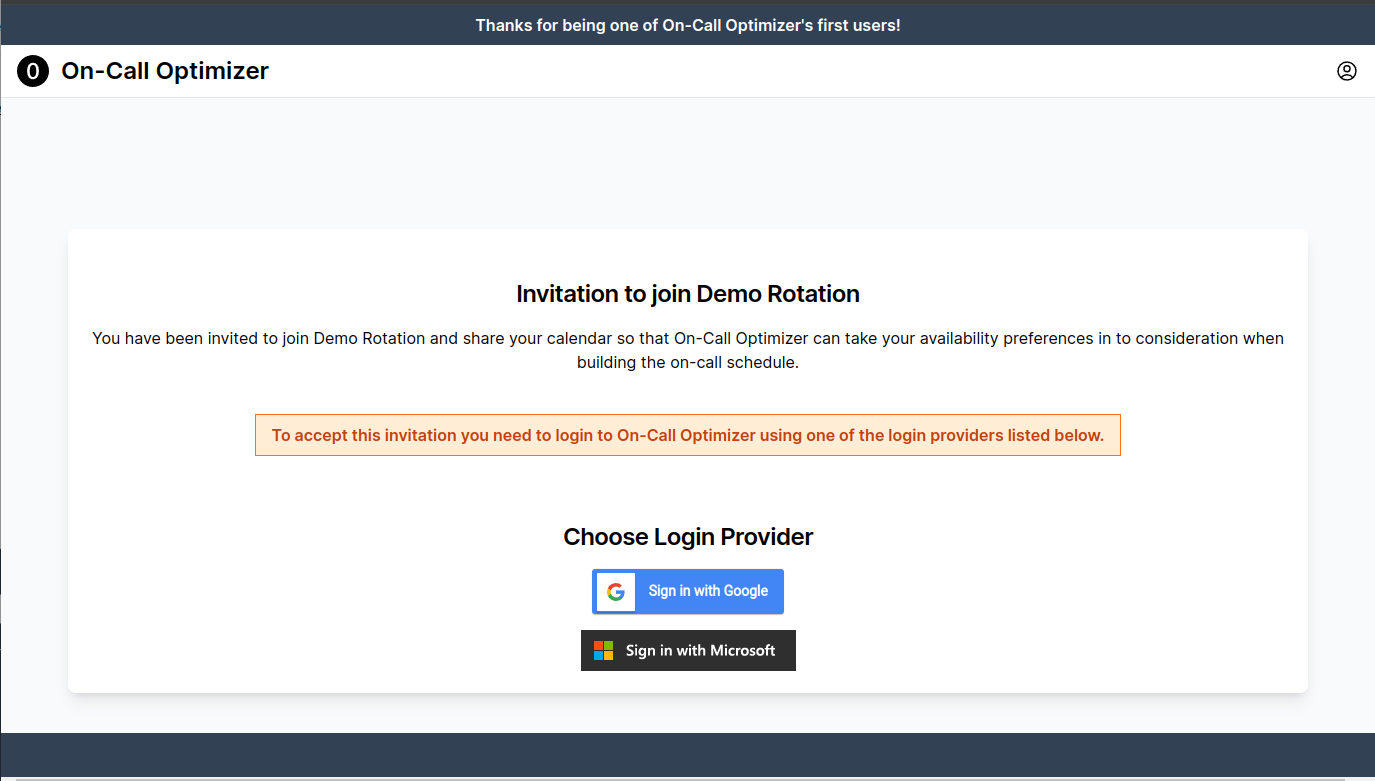
If you have previously used On-Call Optimizer and are already logged in you may not see the above screen at all. However if you do, simply log-in again by selecting the authentication provider that matches your account.
Email address mismatches
On-Call Optimizer expects, but does not require, that you will accept the invitation from an account whose email address matches the address to which the invitation was sent. Attempting to accept an invitation from an account whose email does not match the address to which the invitation was sent will display a warning.3. Click accept
Once you have successfully logged in to On-Call Optimizer, you will see a button allowing you to accept the invitation.
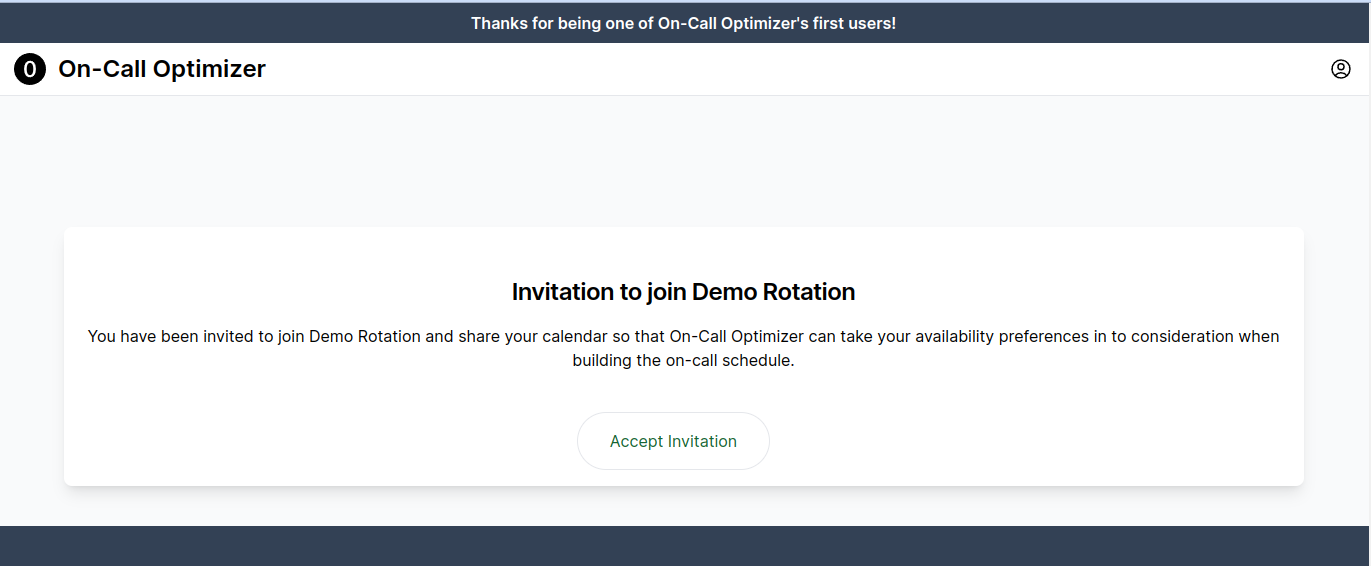
Accepting the invitation means you are agreeing to share any availability information imported from your calendars with the members of the schedule.
Next Steps
Once you have accepted the invitation, you will be taken to a welcome screen from which you can follow the next set of instructions to link your calendar to On-Call Optimizer.
Continue with: Connect a calendar
Feedback
Was this page helpful?
Glad to hear it! Please tell us how we can improve.
Sorry to hear that. Please tell us how we can improve.